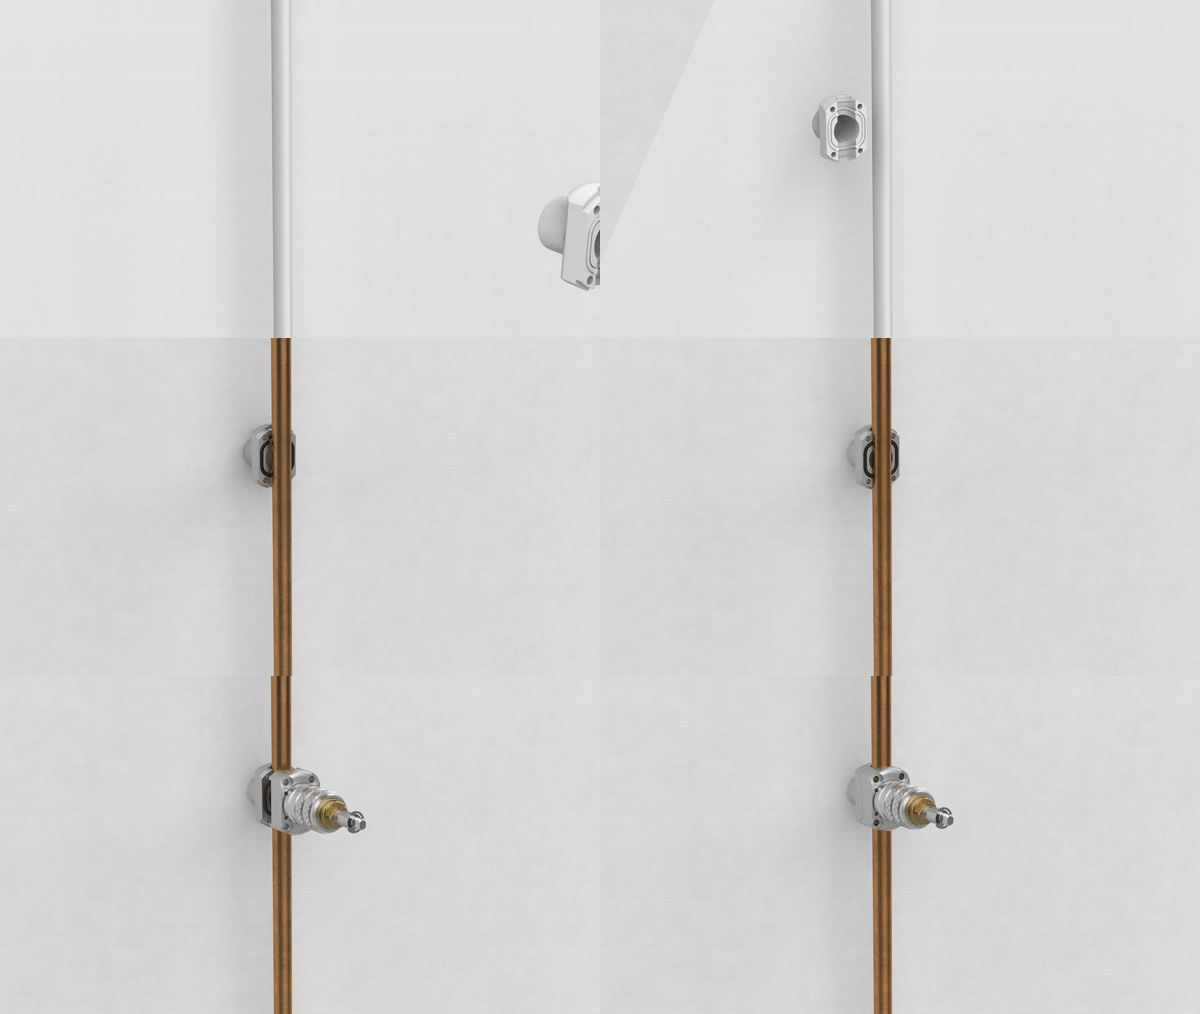
Articles #4 | Case study: Alladin EasyFit Isolators - 3D explainer animation presenting the isolating valves installation and usage
Industrial companies use various techniques to explain benefits and main features of their products. Usually these are schemes, videos and brochures describing the device. Sometimes these techniques need to by supplemented by another media, such as explainer 3D animation showing sophisticated details clearly. This was the case of the Alladin Plumbing Innovations company, which offers EasyFit Isolator isolating valves. What was the motivations to use 3D animation to explain the installation process? How the animation was prepared? What kind of final effect we achieved? We will try to answer these questions in this short article
EasyFit Isolator is a trademark of the Alladin company for the main group of the products the company offer: innovative isolating plumbing valves that any consumer can install by himself and use easily at home, office and any other place when there is a need to stop the water flow independently from the water installation.
This is truly innovative line of products addressed to regular consumers all over the world. The EasyFit Isolators become very successful products with millions of users globally. The valve is supposed to be installed and used by not only professional plumbers but also regular people with no special skills in plumbing. For this reason, there is a strong need to explain very easily how to install the valve correctly and how it works. Alladin company used very successfully videos and drawings explaining step by step all the stages. The best sign of the video’s success is the views count which for the moment of writing this article is at the level of over 2 milion views on the Youtube.
Fig 1. Screen of the YouTube video explaining the installation process
Although the video turned out to be very successful, there was one question popping up in the comment section quite often: what is going on inside the valve? The main goal of the 3D animation we prepared was to explaint the installation process easily with special attention to present what is not possible to be presented on the regular video. Moreover, we also presented example usage and pointed differences between two main types of the valves.
Animation process
The very first step of preparing 3D animation was to understand the device and its principle of the operation. Our company is focused mainly on the technical animations so that was not an issue at all. We received very easy to understand instructions with hand-drawn sketches which we found very helpful. Having that figured out we started animation process showing each step of the valve installation.
Fig 2. Part of the animation process
Fig 3. Water simulation process
Bringing life to the project!
Next step of the project was to apply realistic look to the animation. It means we had to design all the materials and lighting of the 3D scene to make all the objects convincing and appealing to the viewer. Before applying the materials and textures we always prepare the black and white draft version. It already has final lighting and camera setup but misses the final materials. The goal of this version is to agree with the customer that all the actions in the animation are technically correct and overall impression is appealing.
Fig 4. Draft version of the animation showing interior of the device
One of crucial parts of each project we work on is materials and textures. We always pay attention to the surface of each material, making it as convincing as possible. When the entire project looks realistic way viewers enjoy watching it and want to follow the video till the end.
Fig 5. Comparison between draft and final version of the animation
When designing all the materials we based on the reference photos received from the Alladin company. As there was many other videos and photos online available the process of gathering reference pictures went out quite easily. Nevertheless, to mimic the realistic look on the rendering is not an easy task at all, it requires paying a lot of attention to surface characteristic and its optical behavior.
Fig 6. Comparison between real life photography (left) and rendering used in the animation
Final effect - 3D animated explainer video
The last phase of preparing explainer 3D animation is postproduction. In this case it was mainly adding highlights, intro & outro, background music and all the signs appearing in the video. After that the project was ready! All the customers of the Alladin company can now enjoy easy to understand and clear video showing step by step installation process of EasyFit Isolator valves. The final effect you can see below:


